Crazy easy no-knead artisan bread (yeast and sourdough versions)

Crazy easy no-knead artisan bread (yeast and sourdough versions)

Crazy easy no-knead artisan bread
(yeast and sourdough versions)


I absolutely love making bread.  It’s like a kind of therapy, where you can just leave everything behind and get swept up with the aromas of the fresh flour, the beautiful way that yeast blooms (or the incredible bubbles and aromas of an active sourdough starter), and bringing the dough together into a silky smoothness.   For years, this was something I saved for a weekend, as some of the beautiful breads I would make could take as much as 3 hours or more from beginning to end (with a couple of 20 minute kneading sessions --- which was dramatically shortened when I bought my first stand mixer, but I’d always finish kneading by hand as I didn’t want to miss the silky smoothness of the dough).  This was a labour of love, and the results were definitely worth it.  I would often make 2 or 3 loaves, quickly devouring the fresh baked one and then freezing the others to savour through the rest of the week.  But that first loaf, warm and fresh out of the oven, was the ultimate reward.

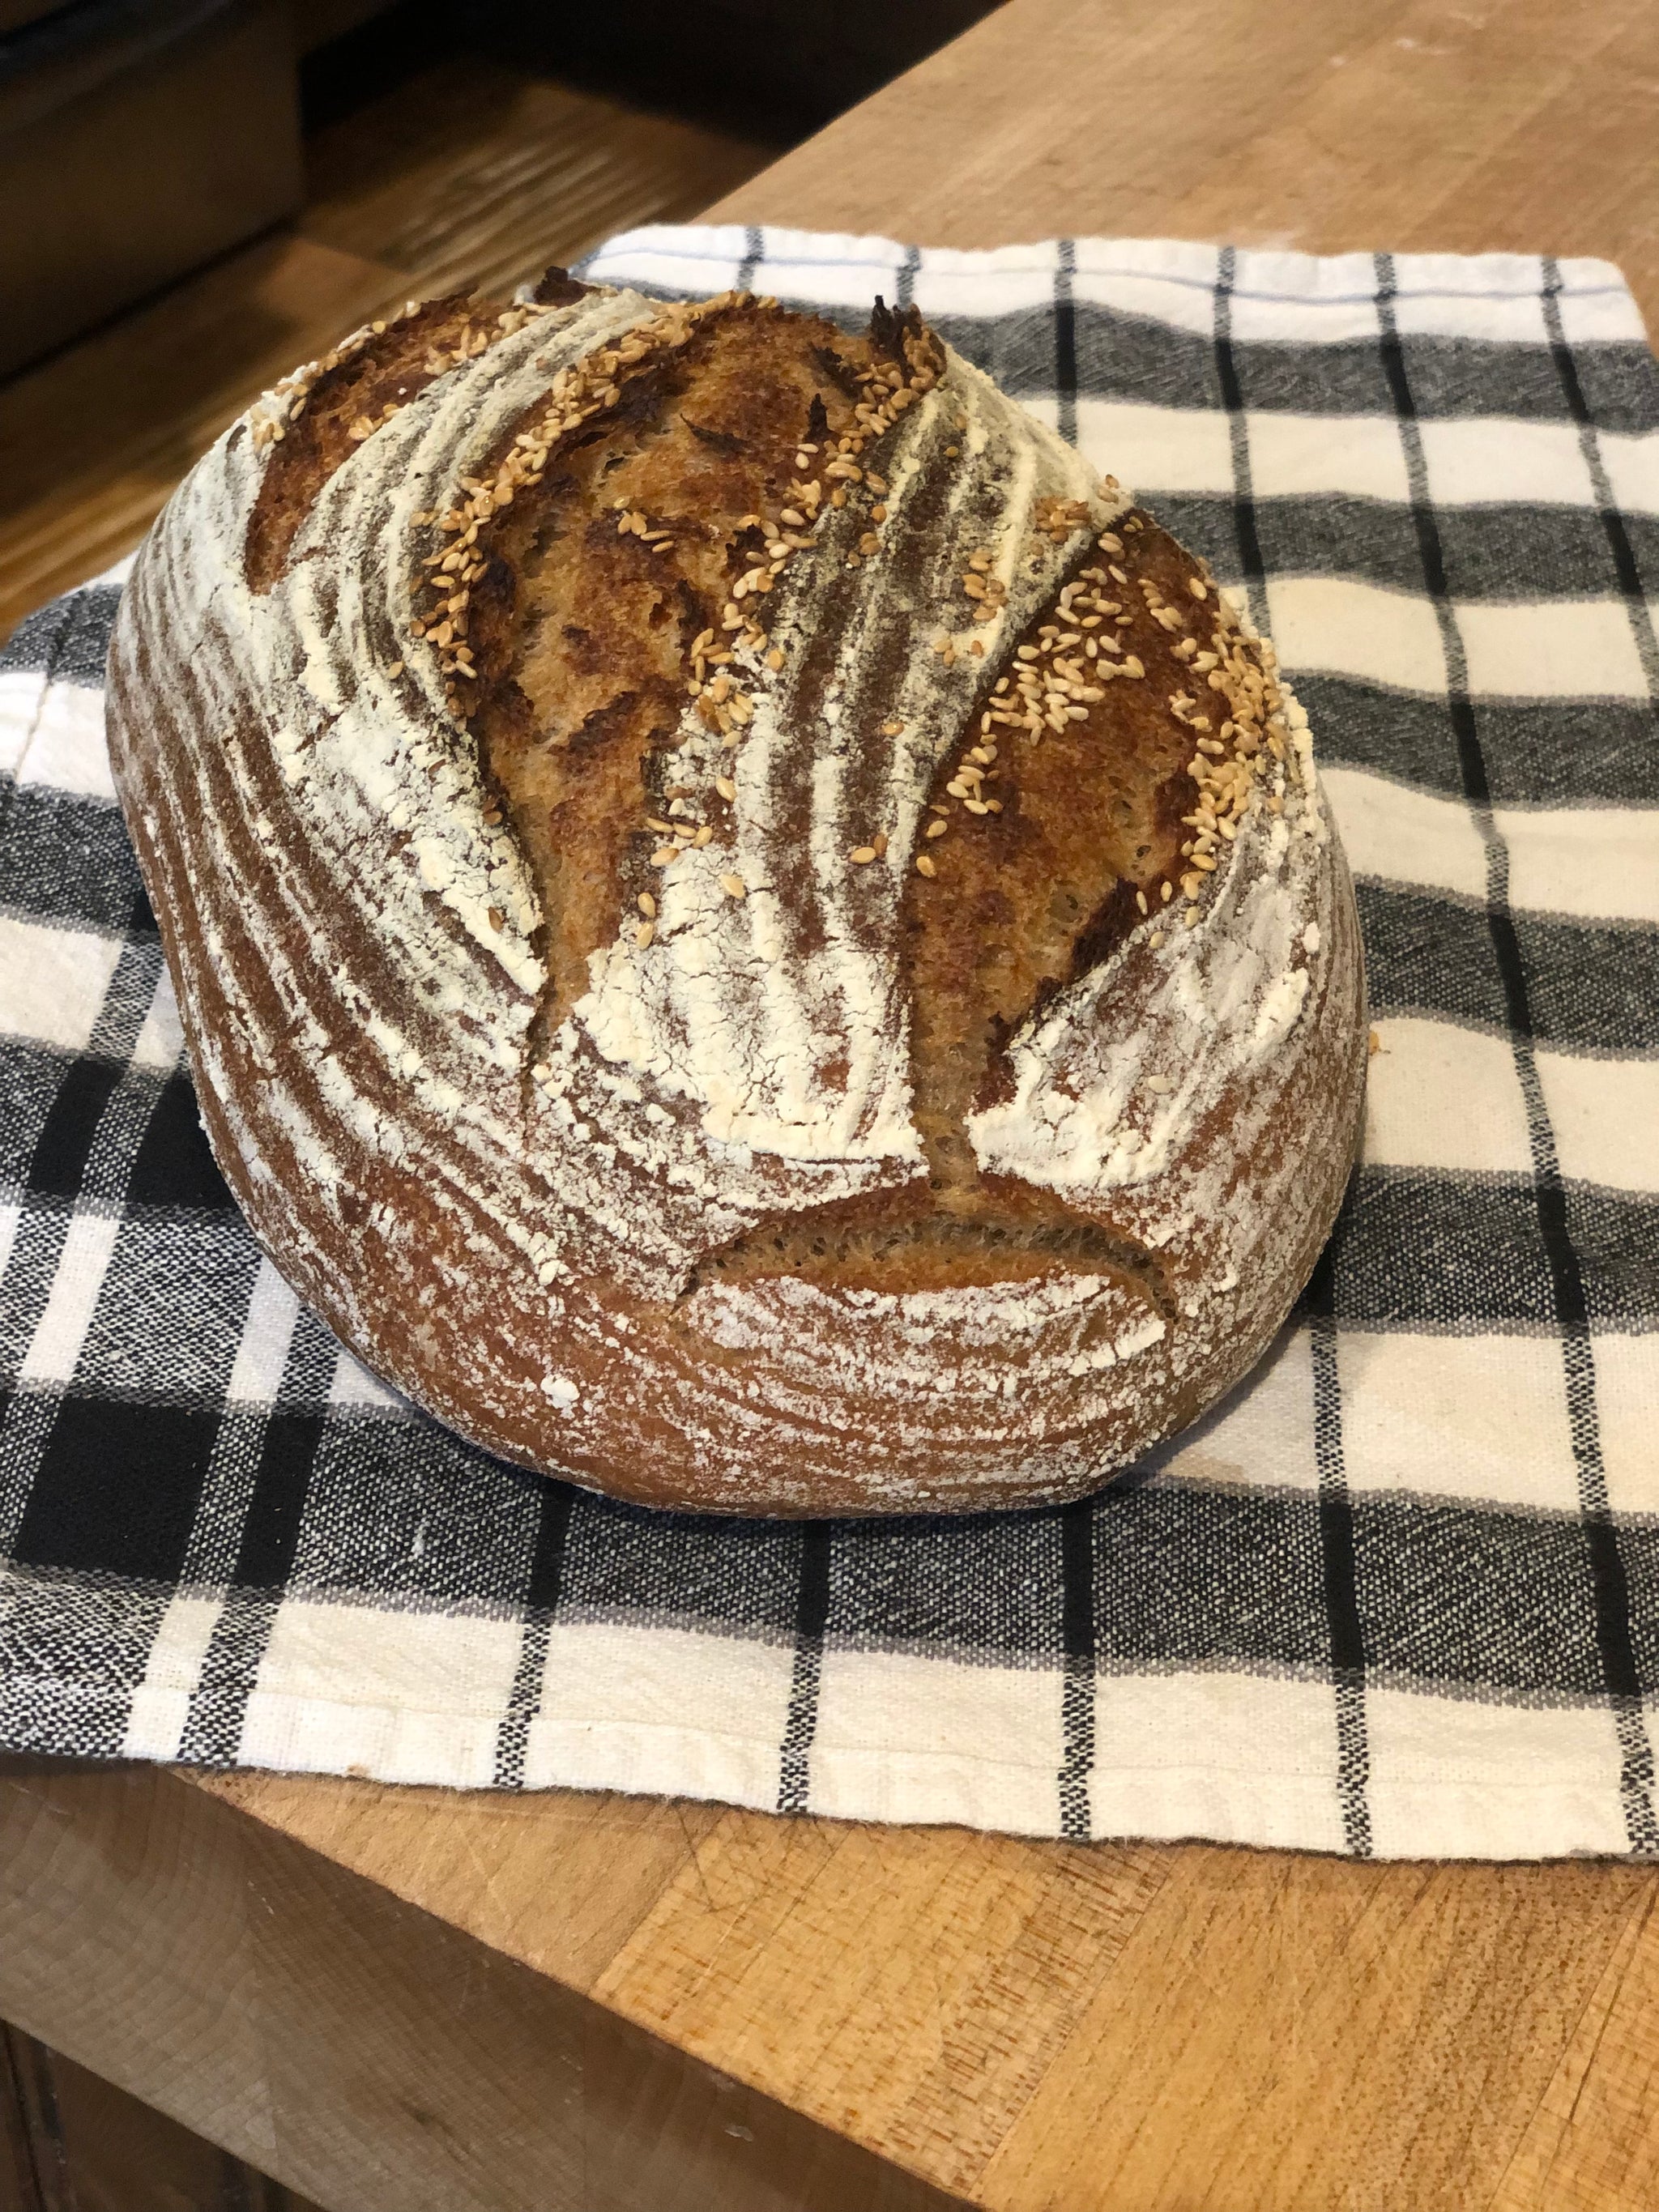
As life moves on, time gets squeezed. My weekend bread-baking “therapy sessions” were fewer and farther between.  I was totally of the belief that incredible bread requires significant sweat equity (i.e. kneading, rising, kneading, rising, shaping, baking)…and it does.  But...the “secret doors” were opened about 15 years ago, when Jim Lahey of Sullivan Street Bakery in New York City, introduced the concept of long fermentation no-knead bread.   It was almost unbelievable that you could create an amazing rustic-style artisan bread with literally only a few minutes of mixing ingredients together (just slightly more effort than using a bread maker).  The key was replacing all that effort with time (i.e. letting the dough sit overnight for 12 hours would naturally replace the “need to knead” to form the gluten).  This “long fermentation” also contributed to a much deeper flavour and beautiful texture (both of the crust and crumb).   The other key was baking this amazing bread inside an enclosed vessel for part of the time to naturally steam the loaf for the first part of baking.  This enabled significant oven spring (keeping the crust soft so the loaf can fully expand).  Once the lid was taken off, the crust would beautifully caramelize. Upon taking this incredible bread out of the oven after reaching the perfect baking temperature (between 200 – 205 F), the crust would have an amazing crackling sound as it cooled.   This is pure awesomeness that must be shared!

I have included two versions of this recipe…the first is the original recipe from Jim Lehay (which uses a very small amount of yeast), and the second is an adapted sourdough version, which I make pretty much everyday now.

The beautiful thing about this bread recipe, is that it’s very easy to build into a daily routine, so you can have the ultimate reward of amazing fresh-baked artisan/rustic style bread every day (if you like).  As mentioned above, timing is key, and the best way to make this bread is to let time do the work while you sleep. 

In both the yeast version and the sourdough version, it’s best to mix the ingredients the night before.  For example, if you want fresh baked bread for lunch the next day, I’d mix the ingredients around 8 or 9pm the night before.  The only step that differs with the sourdough version is feeding the sourdough starter around 6pm to allow a couple hours to get active and double in size.


Jim Lahey’s no-knead artisan bread

Ingredient list

480g* bread flour (e.g. Black Fox Flour semi-whole grain version of Hard Red Spring or Red Fife)  *this is about 3 1/3 cups flour if using a measuring cup and scooping the flour out of the bag.  If possible, it is best to measure flour by weight using a kitchen scale to ensure consistent results.

¼ teaspoon yeast (instant or rapid rise)

10 g (1 ¼ teaspoon) salt

375g (1 ½ cups) lukewarm water

Cornmeal to dust the bottom of the covered baking vessel

Steps:

  1. In a large bowl combine flour, yeast and salt. Add the water and stir until blended; the dough will be shaggy and a bit sticky (if dough looks wet, add a bit more flour until it has a shaggy look...it's OK if it looks a little dry at this stage).  Cover the bowl with plastic wrap.  Let dough rise at room temperature for 12 hours.
  2. Dough will roughly double in size overnight. Lightly flour a work surface, turn out dough from bowl, sprinkle with a bit more flour and fold it over itself once or twice.  Cover with the bowl (or plastic wrap) and let sit for 15 minutes. 
  3. Using just enough flour to keep the dough from sticking to the work surface or your fingers, gently and quickly shape dough into a ball*. Generously coat a cotton kitchen towel with flour. 

*I prefer making an oblong loaf, so instead of shaping into a ball, I gently flatten the dough, and then fold the third of the dough nearest to me onto itself, and then roll the rest toward the end farthest from me, while simultaneously bringing the ends in while I roll it together.  Once it’s rolled together, pinch together the seam, and then place it on the floured towel seam side up and then bring the two long sides of the towel together and roll them to form a semi-tight tube around the loaf.  Finally, fold the long side of the towel over each other, and then flip it all over so the bread is resting on the ends of the towel (seam side down). 

  1. Let the bread rise for at least 1 hour.  The way in which the bread is wrapped in the towel will let it expand, but will also help keep its shape.   The dough is ready when it has approximately doubled in size. 
  2. About 10 or 15 minutes before you’re ready to put your bread in the oven, put your covered baking vessel* into the oven at 450 F.  *The key for the baking vessel is to have something that keeps in the steam to allow for oven spring.  Cast iron Dutch ovens are popular (e.g. Staub, La Creuset), Another much more affordable version is the cast iron combi cooker made by Lodge (in which the bread can be placed on the lid for easier handling and covered by the deeper part).  Deep covered Pyrex or ceramic vessels (i.e. casserole dishes) can also be used.   I’ve used all of these, and they all work well.  That being said, I keep going back to my favourite which is a 3” deep covered Pyrex oval casserole dish.  Even though it’s probably one of the least expensive options, I like the oval shape (as I prefer oblong loaves), and I also like the glass lid so I can see the oven spring (which is helpful if the loaf might need an extra few minutes for a bit more oven spring).  For round loaves, the Lodge cast iron combi cooker is really nice to use, and easy to handle particularly baking on the lid and using the larger part as the cover. 
  3. Once your dough is ready and your baking pot/dish is hot, carefully remove the hot baking vessel from the oven, and sprinkle cornmeal to evenly coat the bottom of the hot pot/dish. Unfold the towel to expose the top side of the loaf (seam side), then picking up the towel from the ends, flip the dough into the hot pot/dish so the seam side is down.  At this point, you can quickly make a few slashes across the top of the bread.  Traditionally, a lame (razor blade) is used, but a serrated knife works just as well. If your loaf is oblong, you can do one long slash lengthwise or few slashes diagonally…this allows the loaf to expand evenly during the oven spring.   Personally I prefer 4 or 5 diagonal slashes as I like to sprinkle sesame seeds in the slashes that beautifully toast which the bread bakes and expands and covers the top of the loaf with incredible flavour.  If you’re making a round load, an X or a # slashed across the top of the loaf works well to allow even expansion.  Cover the pot/dish with the lid and place back into the oven, and bake with the lid on for 25 min (this is the oven spring phase). Remove the lid and bake for 15 – 17 more minutes, until the loaf get a beautiful golden brown (and the internal temperature reaches at least 200 – 205F, using a baking thermometer). 
  1. Cool on a baking rack (and listen to the delightful crackling sound of the crust as it cools). As hard as it may be, resist cutting into the bread for at least 20 min, as the cooling allows the crumb to form much better. 


Sourdough no-knead artisan bread  

Here’s the no-knead recipe that I adapted for sourdough.  The sourdough version of this bread is surprisingly forgiving.  The sourdough stands up very well to the blending of whole wheat flour (i.e. Spelt, Einkorn, Khorasan, EmmerRye) with the bread flours (i.e. semi-whole grain versions of Hard Red Spring or Red Fife).  Using sourdough and the long fermentation helps to activate enzymes in the whole grains which breaks down the phytic acids (which our bodies can’t) so that more of the nutrients of the whole grains are available to us.  That sourdough is wonderful stuff!

Ingredient list:

480 grams*  bread flour – Black Fox Flour semi-whole grain version of Red Fife or Hard Red Spring work very well right out of the bag, or they can be blended with one of the whole grain versions to experience some of the amazing flavours of the whole grain flours such as Rye, Spelt, Khorasan, Einkorn or Emmer (start with 50:50 blend by weight and adjust by preference). 

**this is about 3 1/3 cups flour if using a measuring cup and scooping the flour out of the bag.  If possible, it is best to measure flour by weight using a kitchen scale to ensure consistent results.

10 grams (1 ¼ teaspoons) of salt

275 grams (1 1/8 cup) of lukewarm water

190 grams of sourdough starter - it’s important to measure by weight using a kitchen scale as sourdough starter can differ greatly by volume)

Cornmeal to dust the bottom of the covered baking vessel

Steps:

  1. Feed your sourdough starter about 2 hours before you blend the dough
  2. In a large bowl combine flour and salt.
  3. Measure 275 grams of lukewarm water into a 2 cup measuring cup. Add the 190 grams of sourdough starter to the water (sourdough starter will likely float, but it will still likely work even if the sourdough starter doesn’t float at this stage).  Mix the water and sourdough starter together so that it’s even consistency.
  4. Pour the water and sourdough starter mixture into the bowl with the flour and salt. 

From this point on, the steps are identical to the yeasted version….

  1. Mix until the ingredients are blended together. The dough will be shaggy and a bit sticky (if dough looks wet, add a bit more flour until it has a shaggy look...it's OK if it looks a little dry at this stage).   Cover the dough with plastic wrap and let sit at room temperature for 12 hours.
  2. Dough will roughly double in size overnight. Lightly flour a work surface, turn out dough from bowl, sprinkle with a bit more flour and fold it over itself once or twice.  Cover with the bowl (or plastic wrap) and let sit for 15 minutes. 
  3. Using just enough flour to keep the dough from sticking to the work surface or your fingers, gently and quickly shape dough into a ball*. Generously coat a cotton kitchen towel with flour.  *(note: I prefer making an oblong loaf, so instead of shaping into a ball, I gently flatten the dough, and then fold the third of the dough nearest to me onto itself, and then roll the rest toward the end farthest from me, while simultaneously bringing the ends in while I roll it together.  Once it’s rolled together, pinch together the seam, and then place it on the floured towel seam side up and then bring the two long sides of the towel together and roll them to form a semi-tight tube around the loaf. Finally, fold the long side of the towel over each other, and then flip it all over so the bread is resting on the ends of the towel (seam side down). 
  4. Let the bread rise for at least 1 hour.  The way in which the bread is wrapped in the towel will let it expand, but will also help keep its shape.   The dough is ready when it has approximately doubled in size.  
  5. About 10 or 15 minutes before you’re ready to put your bread in the oven, put your covered baking vessel* into the oven at 450 F.

    *The key for the baking vessel is to have something that keeps in the steam to allow for oven spring.  Cast iron Dutch ovens are popular (e.g. Staub, La Creuset), Another much more affordable version is the cast iron combi cooker made by Lodge (in which the bread can be placed on the lid for easier handling and covered by the deeper part).  Deep covered Pyrex or ceramic vessels (i.e. casserole dishes) can also be used.   I’ve used all of these, and they all work well.  That being said, I keep going back to my favourite which is a 3” deep covered Pyrex oval casserole dish.  Even though it’s probably one of the least expensive options, I like the oval shape (as I prefer oblong loaves), and I also like the glass lid so I can see the oven spring (which is helpful if the loaf might need an extra few minutes for a bit more oven spring).  For round loaves, the Lodge cast iron combi cooker is really nice to use, and easy to handle particularly baking on the lid and using the larger part as the cover.   

      1. Once your dough is ready and your baking pot/dish is hot, carefully remove the hot baking vessel from the oven, and sprinkle cornmeal to evenly coat the bottom of the hot pot/dish. Unfold the towel to expose the top side of the loaf (seam side), then picking up the towel from the ends, flip the dough into the hot pot/dish so the seam side is down.  At this point, you can quickly make a few slashes across the top of the bread – traditionally a lame (razor blade) is used, but a serrated knife works just as well. If your loaf is oblong, you can do one long slash lengthwise or few slashes diagonally…this allows the loaf to expand evenly during the oven spring.   Personally I prefer 4 or 5 diagonal slashes as I like to sprinkle sesame seeds in the slashes that beautifully toast which the bread bakes and expands and covers the top of the loaf with incredible flavour. If you’re making a round load, an X or a # slashed across the top of the loaf works well to allow even expansion. 
      2. Cover the pot/dish with the lid and place back into the oven, and bake with the lid on for 25 min (this is the oven spring phase). Remove the lid and bake for 15 – 17 more minutes, until the loaf get a beautiful golden brown (and the internal temperature reaches at least 200 – 205F, using a baking thermometer
      3. Cool on a baking rack (and listen to the delightful crackling sound of the crust as it cools). As hard as it may be, resist cutting into the bread for at least 20 min, as the cooling allows the crumb to form much better. 

        I hope these recipes serve you well and that you bake amazing bread into your daily routine. I hope you try blending the different flours and coming up with your own delicious masterpieces.  Please let me know how things work out, and particularly stories of your adventures in making these your own. 

        Warmest regards, 

        Kevin Pettersen

        Founder, Black Fox Flour


        Subscribe

        SUBSCRIBE